"Hello World" Application using Ruby on Rails 6
In
Ruby on Rails
Oct 24, 2021
Updated on May 13, 2023
This article is a brief introduction to web application development in general and, in particular, to Ruby on Rails. We will create a simple application that will display the text “Hello, World!” in the browser.
To create a Ruby on Rails app, you need to install the Rails gem. Before you can do that, you’ll have to make sure you have installed into your system the following prerequisites: Ruby, SQLite3, Node.js, and Yarn. Check the Rails guides for more details.
To create our application, we will use Rails 6.1.4.1 and Ruby 3.0.2. Also, we will use the Visual Studio Code editor to write our code.
Create Our Application
The first thing we will do is type the following command from the terminal:
rails new HelloWorldThis command will generate a directory named HelloWorld, where our Rails application will live.
What’s this “rails new” business? After installing the rails gem, we have access to the rails command line, which we will use to create and develop our application. Using the rails command, we can call a series of programs that will assist us with writing our code. These programs are called scripts.
Rails has useful scripts that generate the code you need to do certain things. Rails calls these scripts generators.
The rails new command is one such generator. It generates a
new application with folders and files containing the Rails structure.
Now, from the command line, we go to the newly created folder that contains our application by typing the following command:
cd HelloWorld
The cd command (“change directory”) is a command-line shell command used to change
the current directory. We need to go to our application directory to start working on it.
Start the Web Server
But how do we see our work in the browser? That’s done simply by typing the following command in the terminal :
bin/rails serverOr the short version:
bin/rails s
This command launches a web server named Puma that comes with Rails. After launching the server, we can access our application in the browser by typing the address http://localhost:3000. Localhost is a label for the address of this computer. Port 3000 is the default port on which the Puma server will start. So, go to your browser of choice and enter this address.
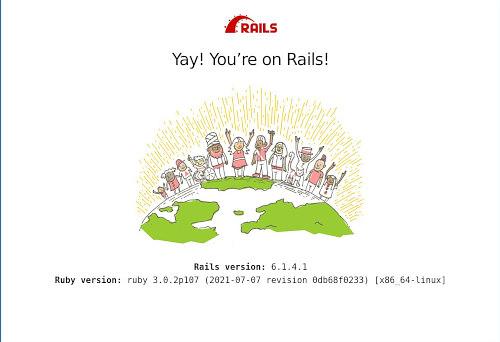
You’ll see the Rails default information page:

Our goal is to change this default information page with a page that says “Hello, World!”. Next, we will discuss how
we can achieve that.
CREATE A VIEW
We'll create a view first. In a web application, the purpose of a view is to generate the web page displayed in the browser.
The views of a typical Rails application live in the app/views/ folder. In this folder, we will create a
sub-folder that will call pages. For now, we will put only one view in it, which will generate the
home page, but later we can add other views corresponding to pages such as the contact page or about page.
Let's start by opening our application in our code editor. Right-click the views/ sub-folder in the
app/ folder and select New Folder. Enter the name pages and press
Enter.
The home page of a web application is usually called index.html. .html is the extension of a document
written in the HTML markup language.
We'll call our home page index.html as well. But we’ll add another extension, too: the .erb
extension that stands for embedded Ruby.
We use embedded Ruby when we want to serve dynamic content that is processed by the server. We can write Ruby code right in our HTML file.
We won't write any Ruby code just yet, but we’ll name our home page index.html.erb anyway. So,
right-click on the newly created pages/ directory, choose New File, and then type
index.html.erb.
Let’s open this file to write our greeting. At the top, write: Hello, World!
Create a Controller
We created the view, but how can we display it in the user's browser? When the user visits our site, they will make a request for our home page. How can we instruct Rails to display the newly created page as our home page?
We do this through a controller. In Rails, the views and their corresponding controller have the same name. So, let's
create this controller in the app/controllers/ directory. Right-click on it, choose New
File and type pages_controller.rb. The .rb file extension stands for Ruby
code.
After we create the controller, just put the following code in it:
class PagesController < ApplicationController
end
Here we define a class PagesController. What is a class? It is just a set of properties and methods
common to all the objects in a given category. All methods defined here will apply to all objects in this class. The
less-than sign in a Ruby class means that the class inherits all the properties and methods from that class that
follows it.
Here, the PagesController inherits from the ApplicationController. The
ApplicationController itself inherits from ActionController::Base, which defines a set of
methods related to web requests.
Create the Root Route
Next, we'll talk about routes. The purpose of a route is to forward a request to a URL to a controller's action. When the controller receives a request, it makes sense of that request, running the code inside the method with the same name as the action.
When developing a web application, the most important thing is to set what to display on the home page. In the case of
our application, we want to render the index.html.erb view we just created.
In Rails, we specify what we want to show on the home page by defining a root route. To set such a
root route, we use the Rails root method.
In Rails, we define our routes in a file called routes.rb in the config/ folder. So, we open
that routes.rb file and right after the line:
Rails.application.routes.draw do we add the following code:
root 'pages#index'
What does this code do? It instructs the application to use a controller called pages and an action
called index for rendering the home page.
In our simple example, we have an empty controller. We did not write any code, so the controller doesn’t do anything
complicated. It will only render the view we created in the corresponding views/pages/ folder, i.e., the
index.html.erb file.
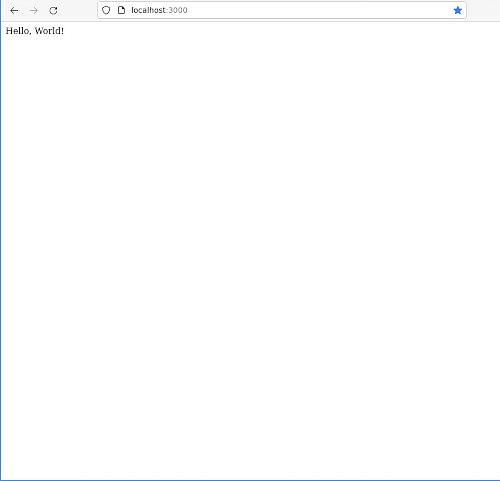
This time, when we go to localhost:3000 and refresh the page, we see our greeting instead of the Rails default page.
